How to Test Pool Alkalinity in 7 Simple Steps
To test your pool’s alkalinity, gather your test kit and a clean sample container. Collect water from about 18 inches deep, away from skimmers.
Use your test kit to measure alkalinity, aiming for 80-120 ppm.
If levels are low, add baking soda. If too high, add muriatic acid or sodium bisulfate, always with the pump running.
Wait several hours, then retest to confirm balance.
Keep following these steps, and you’ll master maintaining perfect water chemistry.
Understand Why Alkalinity Matters in Your Pool
Why should you care about alkalinity in your pool? Because it acts as a buffer, stabilizing your pool’s pH levels. When alkalinity is balanced, you prevent drastic pH swings that can irritate your skin and eyes or damage pool equipment. If your alkalinity is too low, the water becomes acidic, leading to corrosion and staining. Too high, and the water turns cloudy, making it less inviting and harder to maintain. Keeping alkalinity in the right range protects your investment and ensures a comfortable swimming experience. By understanding why alkalinity matters, you’ll be more motivated to monitor and adjust it regularly, helping you maintain a safe, clean, and enjoyable pool all season long.
Gather Supplies for Alkalinity Testing
Before you start testing, make sure you have all the essential supplies, including a reliable alkalinity test kit. Choose a kit that offers accurate and easy-to-read results to get the best measurements. Also, prepare a clean, well-lit area to conduct your test for consistent and clear readings.
Essential Testing Supplies
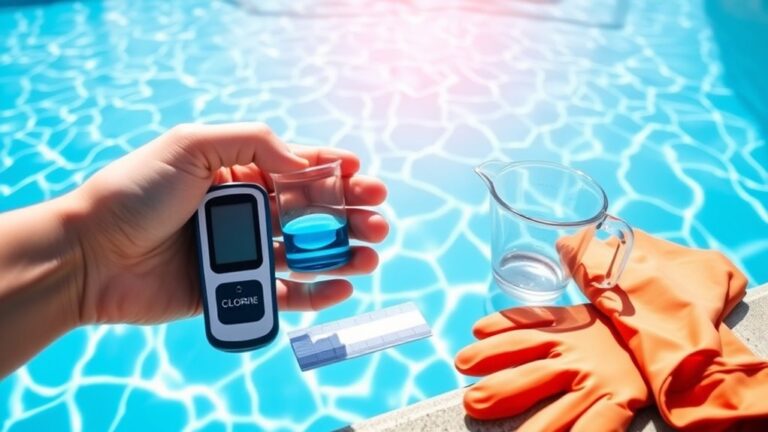
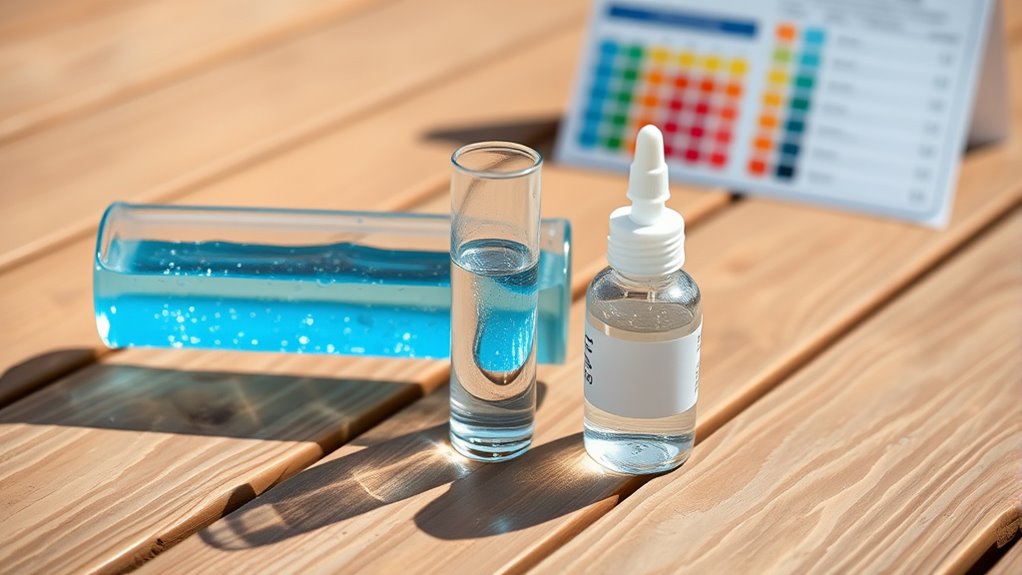
Although testing pool alkalinity may seem straightforward, having the right supplies on hand makes the process much easier and more accurate. You’ll need a clean sample container, preferably a clear bottle or cup, to collect water from about elbow depth. A reliable test kit or test strips designed for alkalinity measurement are essential. Make certain you have fresh reagents if your kit uses liquid chemicals—expired ones can give false readings. Keep a pair of gloves handy to protect your hands from any chemicals. Also, have a notebook or device ready to record your results for future reference. Finally, verify you have access to clean water for rinsing your tools. With these supplies ready, you’ll be set to test your pool’s alkalinity efficiently and confidently.
Choosing Accurate Test Kits
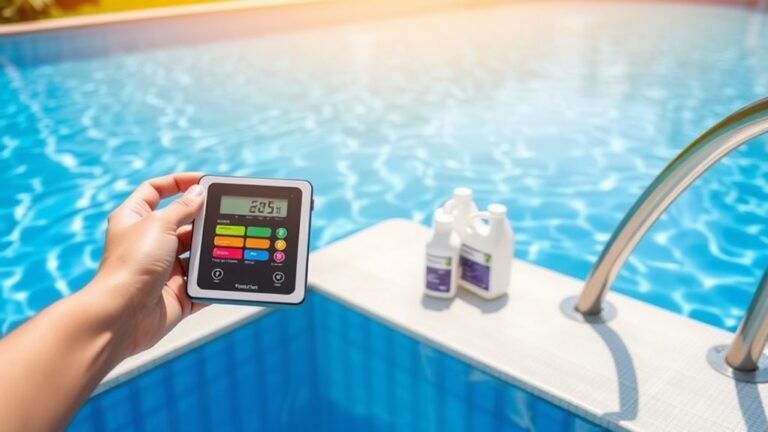
When you want reliable results, choosing an accurate test kit is essential for measuring your pool’s alkalinity. Look for kits that use liquid reagents or digital testers, as these tend to provide more precise readings than simple test strips. Consider test kits that are easy to use and include clear instructions, so you won’t misinterpret the results. Check that the kit measures the total alkalinity range suitable for your pool type, typically between 80 and 120 ppm. Also, choose a kit from a reputable brand with positive reviews to guarantee quality and consistency. Avoid expired or damaged kits, as their accuracy can be compromised. By selecting a dependable test kit, you’ll get trustworthy alkalinity readings that help keep your pool water balanced.
Preparing Testing Area
Once you’ve chosen a reliable test kit, the next step is to prepare your testing area properly. A clean, organized space helps you get accurate results without hassle. Here’s what you need to do:
- Find a flat surface near the pool with good lighting to clearly see color changes.
- Gather your supplies: test kit, clean sample container, gloves, and a notepad for recording results.
- Rinse the sample container with pool water before collecting your test sample to avoid contamination.
- Keep distractions away so you can focus on following the test kit instructions step-by-step.
Collect Your Pool Water Sample Properly
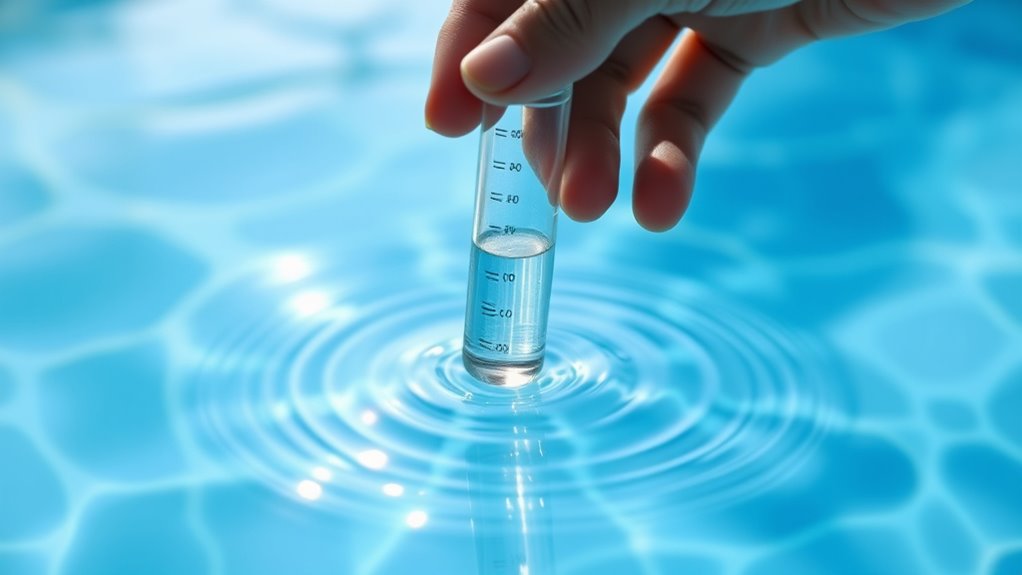
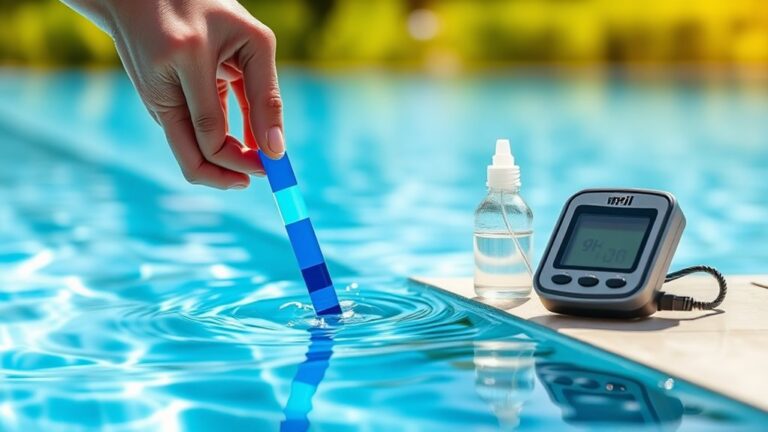
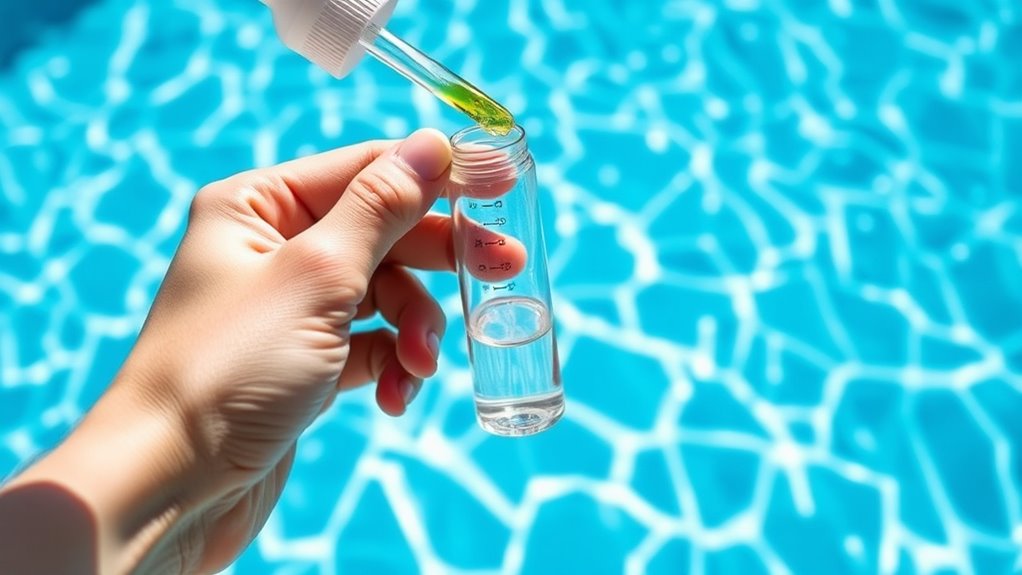
Before you test your pool’s alkalinity, you’ll want to collect a water sample that accurately represents the entire pool. Head to about elbow depth—roughly 18 inches below the surface—where water circulates well. Avoid taking water near skimmers, returns, or steps, as these spots don’t reflect the pool’s overall condition. Use a clean container, preferably a testing vial or a clear plastic cup, rinsed with pool water first to prevent contamination. Submerge your container facing upward to avoid collecting surface debris or air bubbles. Fill it without touching the sides to keep the sample pure. Once collected, test the water promptly to guarantee accurate results, since chemical levels can shift if the sample sits too long. Following these steps will give you a reliable start for measuring alkalinity.
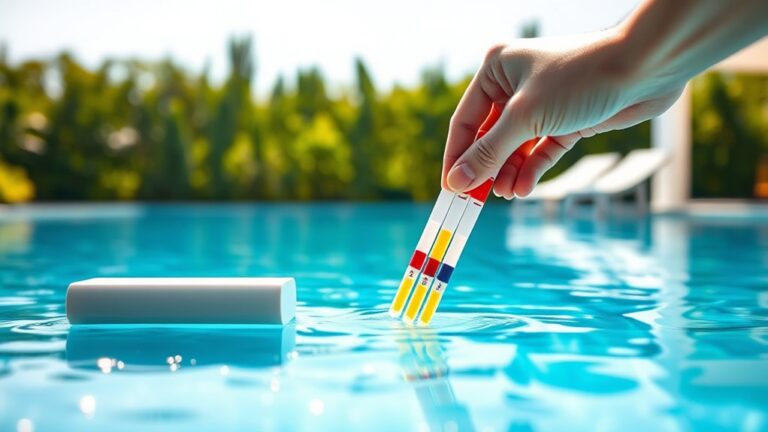
Test Your Pool’s Alkalinity
Testing your pool’s alkalinity is key to keeping the water balanced and preventing damage. You can use test strips, liquid kits, or digital testers to check the levels easily. Aim for an alkalinity range between 80 and 120 ppm to maintain a healthy pool environment.
Importance Of Alkalinity
Because maintaining proper alkalinity directly affects your pool’s water balance, you need to test it regularly. Alkalinity acts as a buffer, preventing sudden pH changes that can damage your pool and equipment. If you ignore alkalinity, you risk:
- Corrosion of metal parts and pool surfaces
- Cloudy water due to imbalanced chemicals
- Ineffective sanitizers leading to bacterial growth
- Skin and eye irritation for swimmers
Testing Methods Overview
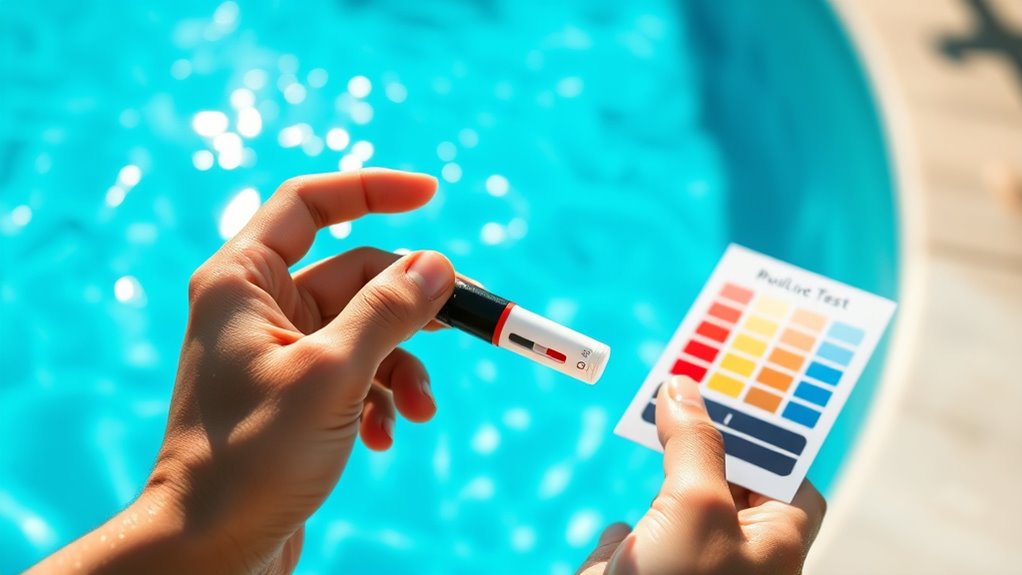
When you want to keep your pool’s alkalinity in check, choosing the right testing method is key. You have several options: test strips, liquid test kits, and digital testers. Test strips are quick and easy—you simply dip them into the water and compare the color change to a chart. Liquid test kits offer more accuracy; you add reagents to a water sample and watch for a color shift that indicates alkalinity levels. Digital testers provide precise, instant readings but tend to cost more. Each method has its pros and cons depending on your budget, convenience, and desired accuracy. Whichever you pick, make sure to follow the instructions carefully to get reliable results and maintain a balanced pool environment.
Ideal Alkalinity Range
Now that you know how to check your pool’s alkalinity, it’s important to understand what numbers you should be aiming for. Keeping your pool’s alkalinity within the ideal range helps maintain water balance and prevents damage to your pool surfaces and equipment.
Here’s the ideal alkalinity range you should target:
- 80 to 120 ppm (parts per million) – This is the perfect range for most pools.
- Below 80 ppm – Water becomes too acidic, risking corrosion.
- Above 120 ppm – Water turns too alkaline, causing scaling and cloudy water.
- Aim for 100 ppm – A balanced midpoint that stabilizes pH effectively.
Regularly maintaining alkalinity within this range ensures a safer, cleaner, and longer-lasting pool experience.
How to Read Your Alkalinity Test Results
Although testing your pool’s alkalinity is straightforward, interpreting the results correctly is essential for maintaining balanced water. Once you get the test reading, compare it to the ideal range, typically 80-120 ppm (parts per million). Values below or above this range indicate imbalance but don’t worry—you’ll adjust them in the next step.
Here’s a quick guide to help you understand your test results:
| Alkalinity Level (ppm) | Interpretation | Water Condition |
|---|---|---|
| Below 80 | Low Alkalinity | Water may be corrosive |
| 80 to 120 | Ideal Alkalinity | Balanced, stable water |
| Above 120 | High Alkalinity | Water may become cloudy |
Use this chart to know exactly where your pool stands after testing.
Adjust Alkalinity If Levels Are Too Low or High
If your pool’s alkalinity falls outside the ideal range, you’ll need to take action to correct it. Low alkalinity can cause corrosion and pH fluctuations, while high alkalinity leads to cloudy water and scaling. Here’s how to adjust it:
- For low alkalinity, add sodium bicarbonate (baking soda) gradually, about 1.5 pounds per 10,000 gallons to raise levels by 10 ppm.
- Distribute the chemical evenly around the pool’s perimeter.
- For high alkalinity, use muriatic acid or sodium bisulfate carefully, following product instructions to lower alkalinity safely.
- Always run your pool pump during and after adding chemicals to ensure proper circulation and mixing.
Taking these steps will help you maintain balanced alkalinity and keep your pool water healthy.
Retest Alkalinity After Treatment to Confirm Balance
After adjusting your pool’s alkalinity, you’ll want to retest the levels to guarantee they’re within the ideal range. Wait at least 4 to 6 hours after adding chemicals before testing again, as this allows the water to circulate and the treatment to fully take effect. Use your testing kit to measure the total alkalinity once more, confirming accuracy. If the results still fall outside the recommended range of 80 to 120 ppm, you may need to make additional adjustments. Keep retesting after each treatment until the alkalinity stabilizes within this range. Maintaining balanced alkalinity helps prevent corrosion, scaling, and pH fluctuations, keeping your pool water safe and comfortable for swimming. Regular retesting also ensures long-term water quality.
Frequently Asked Questions
Can Pool Alkalinity Affect Chlorine Effectiveness?
Yes, pool alkalinity directly impacts chlorine effectiveness. Low alkalinity causes the water to become acidic, which makes chlorine dissipate faster and reduces its sanitizing power. On the other hand, high alkalinity can cause cloudy water and scale buildup, both of which hinder chlorine’s ability to eliminate bacteria. Maintaining balanced alkalinity ensures chlorine remains stable and effective, keeping your pool clean and safe.
How Often Should I Test Pool Alkalinity?
You should test your pool’s alkalinity at least once a week during the swimming season to maintain proper balance. Test more frequently if the water appears cloudy or if chlorine effectiveness decreases. Always check alkalinity levels immediately after heavy rain or adding chemicals, as these can cause fluctuations. Regular testing ensures clear, safe water and optimal chlorine performance.
What Causes Sudden Changes in Pool Alkalinity?
Sudden changes in pool alkalinity are often caused by heavy rain, adding excessive acid or chlorine, or organic debris breaking down in the water. These factors can quickly lower or raise alkalinity levels. Additionally, shocking the pool or recent chemical additions can lead to unexpected fluctuations. Monitoring these common causes helps you maintain stable alkalinity and keep your pool water balanced.
Can Rainwater Impact My Pool’s Alkalinity?
Yes, rainwater can affect your pool’s alkalinity because it is usually slightly acidic. When rainwater enters your pool, it dilutes the water and lowers the total alkalinity. After heavy rainfall, it’s important to test your pool’s alkalinity levels and adjust them as needed to maintain proper water balance. Regularly checking alkalinity after storms helps protect your pool’s surfaces and equipment from damage caused by imbalanced water chemistry.
Is It Safe to Swim Immediately After Adjusting Alkalinity?
Is it safe to swim immediately after adjusting alkalinity? It’s best to wait at least a few hours before swimming. This allows chemicals to fully disperse and prevents skin irritation and eye discomfort. If you’ve added strong chemicals, extend the waiting time even longer. Waiting ensures your pool water is safe, balanced, and comfortable for a worry-free swim.
Conclusion
Keeping your pool’s alkalinity balanced is like steering a ship through calm waters. It guarantees everything stays smooth and prevents damage. By following these simple steps, you take control of your pool’s health. This ensures the water stays clear and comfortable.
Remember, regular testing and adjustment keep your pool inviting and safe all season long. So, grab your test kit, stay on course, and enjoy a perfectly balanced pool every time!