How to Check Pool Chemicals in 10 Easy Steps
To check your pool chemicals in 10 easy steps, start by gathering your testing tools. Collect water from mid-depth, away from skimmers and drains.
Test pH first, then measure free chlorine, alkalinity, calcium hardness, and cyanuric acid levels using your kit.
Add chemicals slowly and evenly based on results.
Retest after circulation to confirm balance.
Keep consistent with monitoring to maintain safe, clear water.
Follow these basics, and you’ll soon master effective pool care.
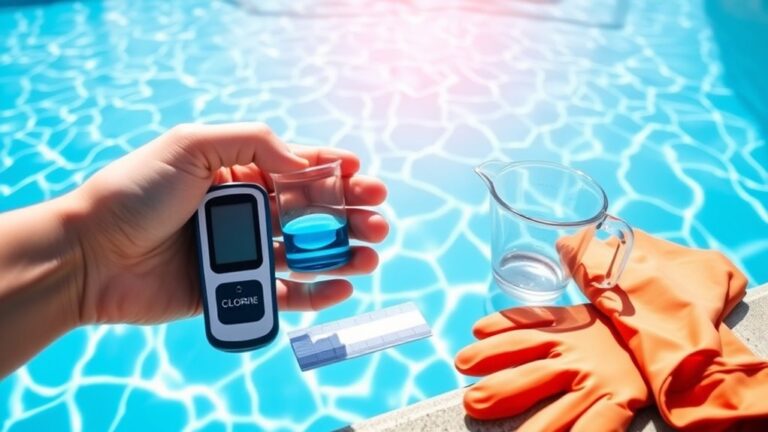
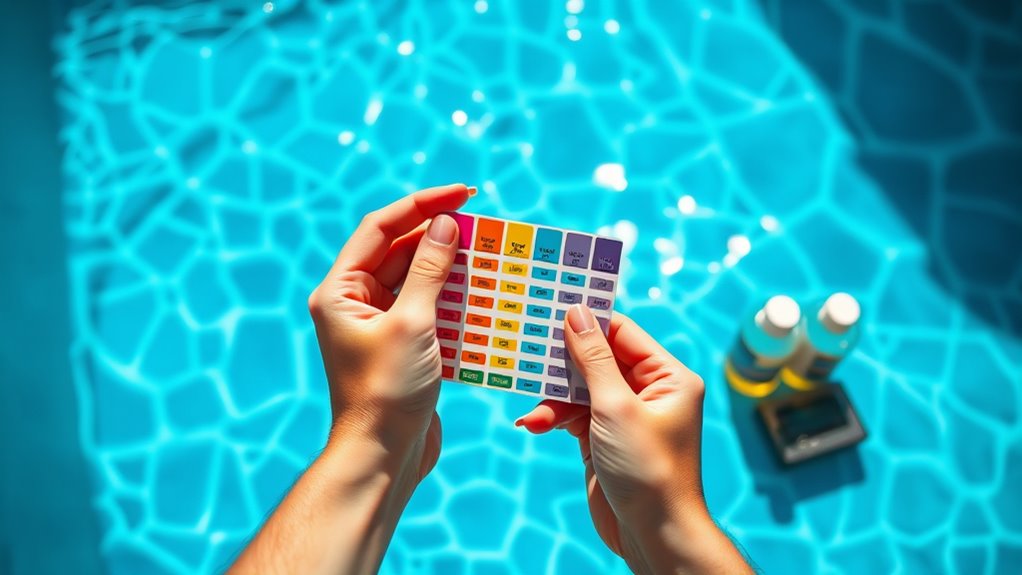
Gather Essential Pool Testing Tools and Kits
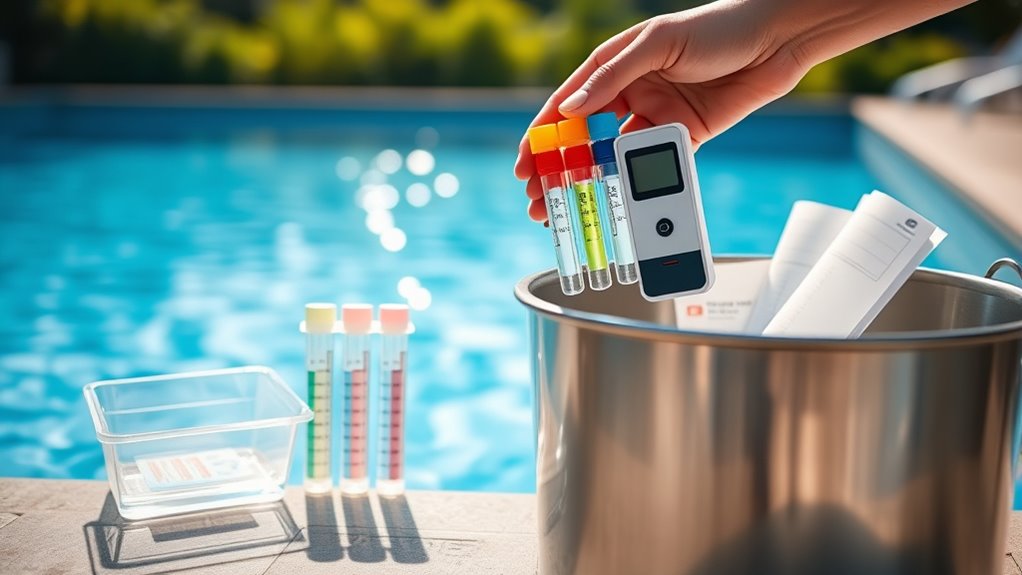
Before you test your pool water, gather the essential tools and kits you’ll need to get accurate results. Start with a reliable pool testing kit that measures key chemical levels like chlorine, pH, alkalinity, and calcium hardness. You can choose between test strips or liquid test kits—both are effective but differ in ease and precision. Also, have a clean container ready if you need to collect water samples. A digital tester can be handy for quick and precise readings, especially if you want to monitor temperature alongside chemical levels. Don’t forget safety gloves and goggles to protect yourself while handling chemicals. Having these tools organized and ready guarantees your pool testing goes smoothly, helping you maintain safe and balanced water without any guesswork.
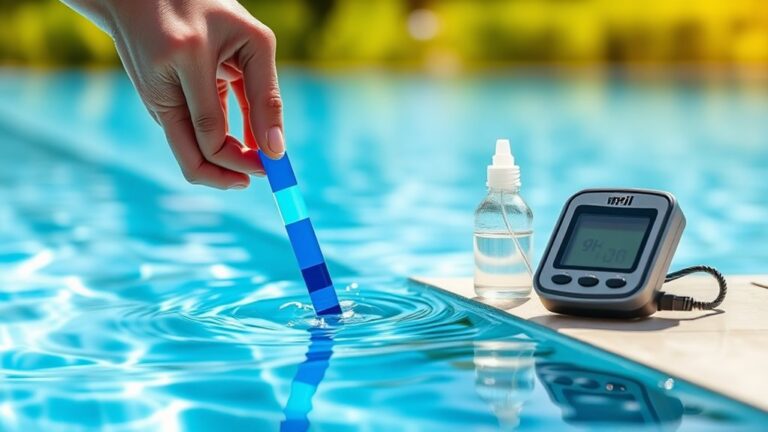
Collect Water Samples From the Right Spots
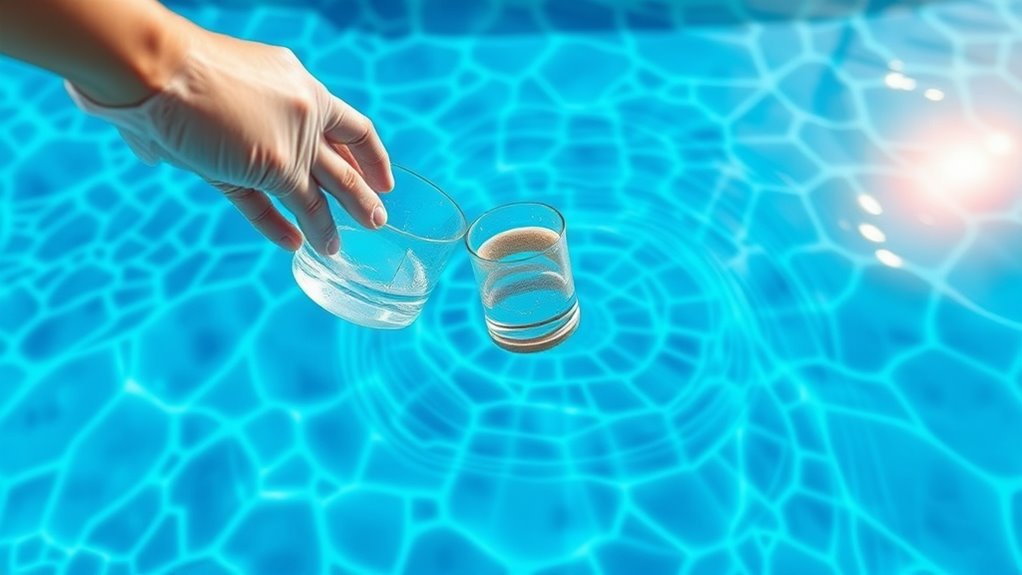
You’ll want to collect water samples from several spots around the pool, focusing on areas with good circulation. Avoid taking samples near skimmers, drains, or places where debris tends to gather, as these can give inaccurate readings. Getting water from the middle or a few feet below the surface guarantees you’re testing a representative sample.
Ideal Sampling Locations
Although collecting a water sample might seem straightforward, choosing the right spot in your pool is essential for accurate chemical testing. You’ll want to avoid areas where water circulation is poor or where chemicals might accumulate unevenly. Ideally, take samples from locations that represent the overall pool water quality.
Here are ideal sampling locations to evaluate:
| Location | Reason |
|---|---|
| Mid-depth center | Reflects average pool water |
| Near return jets | Shows well-mixed water |
| Away from walls | Avoids stagnant or contaminated water |
Avoiding Contaminated Areas
Where should you avoid collecting pool water samples to guarantee accurate chemical readings? Steer clear of areas near skimmers, returns, and any spots where chemicals are added. These zones often have concentrated chemicals that don’t represent the pool’s overall balance. Also, don’t collect samples right at the surface or bottom. Surface water might contain debris or oils, while the bottom can have settled particles that skew results. Instead, take samples from about elbow depth, away from walls and circulation jets. This ensures you get a well-mixed, representative sample. By avoiding contaminated or unrepresentative areas, you’ll get accurate readings that help maintain safe and balanced pool water. Always remember, where you collect your sample matters as much as how you test it.
Test Your Pool Water’s pH Level First
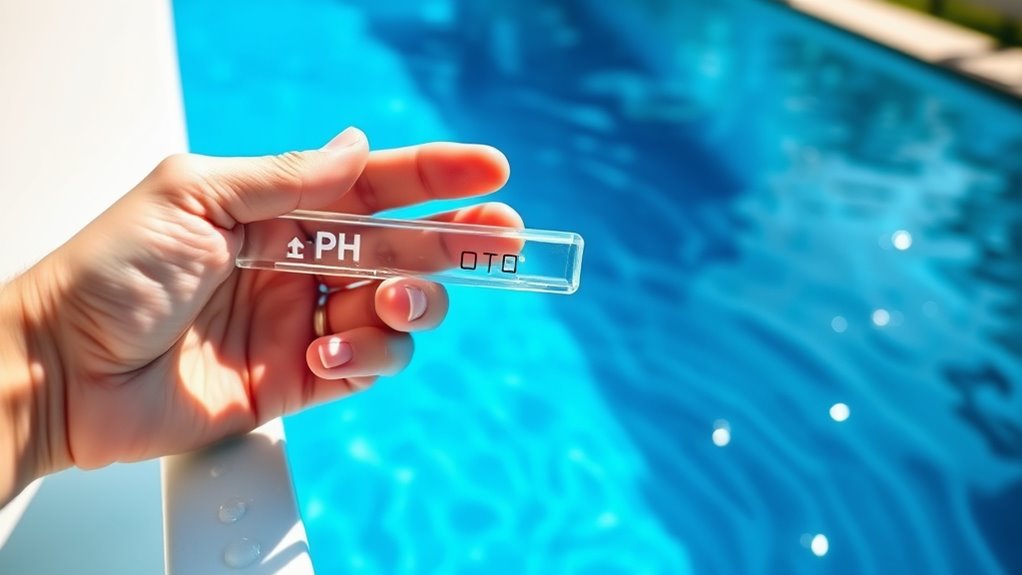
Before adding any chemicals, test your pool water’s pH level to guarantee it’s balanced. Maintaining the correct pH between 7.2 and 7.8 ensures your pool water is safe and comfortable while protecting equipment from corrosion or scaling.
Here’s how to test your pool’s pH accurately:
- Collect a water sample from about 18 inches below the surface, avoiding skimmer or return jets.
- Use a reliable test kit or digital pH meter, following the manufacturer’s instructions carefully.
- Compare the test results to the ideal pH range and note any adjustments needed before adding chemicals.
Regularly checking your pH helps keep your pool water clear and prevents chemical imbalances that could cause issues later.
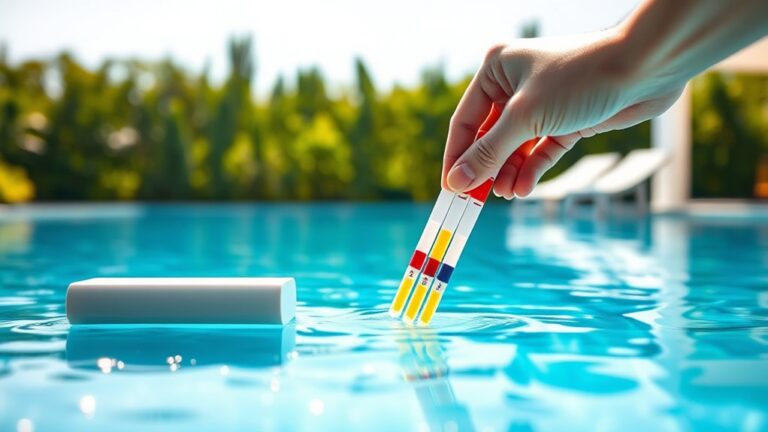
Measure Chlorine Levels in Your Pool Accurately
To keep your pool safe, you need to measure chlorine levels accurately by testing both free and combined chlorine. Using a reliable test kit helps you pinpoint the exact chlorine type and concentration. This guarantees your pool stays clean without overusing chemicals.
Testing Chlorine Types
How can you guarantee your pool stays safe and clean? Understanding the types of chlorine in your pool is key. You’ll want to distinguish between free chlorine, combined chlorine, and total chlorine to keep water balanced.
Here’s what you need to know:
- Free Chlorine: This is the active sanitizer killing bacteria and algae. You want this level to be in the ideal range.
- Combined Chlorine: These are chloramines formed when free chlorine reacts with contaminants. High levels cause odors and irritation.
- Total Chlorine: This is the sum of free and combined chlorine, indicating overall chlorine presence.
Testing these types separately helps you maintain optimal sanitation and avoid problems like cloudy water or skin irritation.
Using Test Kits
Wondering how to get accurate readings of your pool’s chlorine levels? Using test kits is the simplest way to do this. First, collect a water sample from about elbow depth, avoiding surface debris. Then, follow the test kit instructions carefully—usually, you’ll add a few drops of reagents to the sample. These reagents react with the chlorine, changing the water’s color. Compare this color to the kit’s chart to find the exact chlorine level. Regular testing helps you maintain safe, clean water and prevents over- or under-chlorination. Keep your test kits stored properly and replace reagents as recommended to guarantee accurate results. With consistent use, you’ll confidently manage your pool’s chlorine, keeping it safe for everyone to enjoy.
Check Alkalinity to Keep Pool Water Balanced
Although alkalinity might seem like a minor detail, it plays a crucial role in keeping your pool water stable and comfortable. Proper alkalinity levels prevent sudden pH swings, protecting your pool equipment and swimmers’ skin. To check alkalinity:
- Use a reliable test kit to measure total alkalinity, aiming for 80-120 ppm.
- Collect a water sample from elbow depth, then add test reagents as instructed.
- Compare the color change to the test chart, adjusting alkalinity with baking soda or muriatic acid if needed.
Regularly monitoring alkalinity ensures balanced water chemistry and extends your pool’s lifespan. Don’t skip this step—it’s key to maintaining a safe, crystal-clear pool environment.
Test Calcium Hardness to Protect Pool Surfaces
Balancing alkalinity helps keep your pool water stable, but maintaining proper calcium hardness is just as important to protect your pool surfaces. Calcium hardness measures the amount of dissolved calcium in your pool water. If it’s too low, your pool surfaces can become etched or damaged. If it’s too high, you risk scale buildup that can clog filters and damage equipment.
Use a calcium hardness test kit regularly to keep levels between 200 and 400 ppm (parts per million). Adjust as needed with calcium chloride to raise hardness or dilute with fresh water to lower it.
| Calcium Hardness Level | Effect on Pool Surfaces |
|---|---|
| Below 200 ppm | Etching and surface corrosion |
| 200-400 ppm | Ideal protection and balance |
| Above 400 ppm | Scale buildup and cloudy water |
Check Cyanuric Acid for Chlorine Stability
How do you keep your pool chlorine effective under the sun? The answer lies in checking cyanuric acid levels. Cyanuric acid acts as a stabilizer, protecting chlorine from being quickly broken down by UV rays. Without it, your chlorine won’t last long, leading to ineffective sanitation.
To check cyanuric acid properly:
- Use a cyanuric acid test kit designed for pools.
- Collect a water sample from about 18 inches below the surface for accuracy.
- Follow the test kit instructions closely to measure the cyanuric acid concentration.
Aim for a cyanuric acid level between 30 and 50 ppm. Too low, and chlorine degrades fast; too high, and chlorine’s effectiveness decreases. Regular checks keep your pool balanced and chlorine stable.
Interpret Test Results and Adjust Chemicals Safely
Once you’ve tested your pool water, you need to interpret the results carefully to maintain a safe and healthy swimming environment. Check each chemical level against recommended ranges: pH should be between 7.2 and 7.8, chlorine between 1 and 3 ppm, and alkalinity between 80 and 120 ppm. If any values fall outside these ranges, note the extent of deviation. Avoid making drastic changes all at once; sudden chemical shifts can stress swimmers and damage pool equipment. Always wear protective gear like gloves and goggles when handling chemicals. Keep your test results handy to track trends over time and spot recurring issues. By understanding your readings accurately, you’ll know when adjustments are necessary and how to keep your pool balanced and safe.
Add Pool Chemicals Carefully Based on Your Readings
Because pool chemicals can react quickly and unpredictably, you should add them slowly and carefully based on your test results. This helps prevent overcorrection and guarantees your pool stays balanced.
Add pool chemicals slowly and carefully, guided by test results, to maintain balanced water and prevent overcorrection.
Follow these steps when adding chemicals:
- Measure Precisely: Use the exact amounts recommended for your pool size and water chemistry to avoid excess or shortages.
- Add Chemicals Gradually: Pour chemicals in small doses, allowing time to circulate before adding more. This prevents sudden changes in water chemistry.
- Distribute Evenly: Spread chemicals around the pool perimeter or pour them into the deep end to promote even mixing and avoid localized concentration.
Retest Pool Water to Confirm Balance Is Restored
After carefully adding chemicals, you’ll want to retest your pool water to make sure the balance is back where it should be. Use your testing kit or strips again, checking chlorine, pH, alkalinity, and stabilizer levels. This second test confirms if the adjustments you made were effective or if further changes are necessary. If the readings still fall outside the ideal range, add small doses of the specific chemicals needed and wait a few hours before testing again. Remember, it’s best to make gradual changes rather than large corrections to avoid shocking your pool’s ecosystem. Retesting helps maintain safe, clean water and extends your pool’s lifespan, so don’t skip this essential step after any chemical adjustment.
Frequently Asked Questions
How Often Should I Drain and Refill My Pool Completely?
You should completely drain and refill your pool every 3 to 5 years, depending on usage and water quality. Persistent chemical imbalances or high total dissolved solids that can’t be corrected signal it’s time to drain. Regular water testing helps identify when the chemistry is off. Avoid draining too often, as it wastes water and time. Instead, maintain balanced chemicals regularly and only fully refill your pool when necessary to keep the water safe and enjoyable.
Can Weather Affect My Pool Chemical Levels?
Yes, weather significantly affects your pool chemical levels. Heavy rain can dilute chlorine by up to 30%, lowering its effectiveness, while hot, sunny weather accelerates chlorine breakdown and increases evaporation. Wind can also blow debris and contaminants into the water, disrupting the chemical balance. To maintain a safe and balanced pool, test and adjust your chemicals regularly, especially during changing weather conditions. Stay ahead by monitoring your pool’s chemistry frequently to ensure optimal water quality.
What Are the Signs of Chemical Imbalance in Pool Water?
Signs of chemical imbalance in pool water include cloudy or murky water, eye irritation, and skin discomfort after swimming. You may also notice algae growth, such as slimy or greenish patches. A strong chlorine smell often indicates high combined chlorine levels. Monitoring these signs helps ensure your pool remains safe and properly balanced.
Are Natural Alternatives Effective for Pool Sanitation?
Natural alternatives can effectively sanitize pools, but they often demand more maintenance and careful monitoring than traditional methods. Popular options include saltwater systems, mineral purifiers, and enzyme-based treatments, all of which reduce the need for harsh chemicals. While these alternatives may not sanitize as quickly or thoroughly as chlorine, regular water testing and adjustments help keep your pool safe and balanced, preventing algae and bacteria growth naturally.
How Can I Safely Store Pool Chemicals at Home?
To safely store pool chemicals at home, keep them in a cool, dry, and well-ventilated area away from direct sunlight and moisture. Always store chemicals in their original containers with labels intact and never mix different chemicals together. Ensure they are out of reach of children and pets, and keep them separate from household cleaners and food. Regularly inspect containers for leaks or damage, and follow local regulations for proper disposal. Proper storage helps prevent accidents and maintains chemical effectiveness.
Conclusion
Checking your pool chemicals is like tending a delicate garden. You cannot rush growth or balance. Each test you perform is a gentle touch, ensuring the water stays clear and inviting.
As a gardener reads the soil and adjusts care accordingly, you read your pool’s chemistry and act wisely. By following these steps, you nurture a healthy oasis. Every swim feels like a revitalizing reward for your mindful attention and care.